
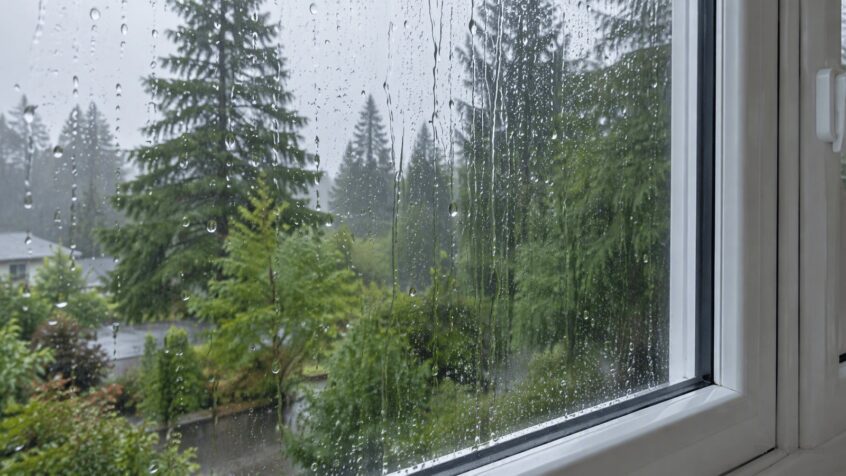
October on the West Coast means the return of long, wet storms. Atmospheric rivers (narrow corridors of moisture that roll in off the Pacific) regularly dump heavy rain across Metro Vancouver, the North Shore, and communities up the Sea-to-Sky. If you’ve spotted a window leaking in heavy rain, you’re not alone, and the cause is not always the glass.
This post is about water intrusion: rain getting past the window assembly or the wall around it. It is not about fogging between panes or moisture that forms on the room side of the glass. Those are different problems (more on that below).
Leak vs condensation: get this right first
Before you assume a window is failing, rule out condensation.
Condensation forms when warm indoor air hits a cold glass surface and drops water on the inside of the pane. It often shows up on cold mornings, in bathrooms after a shower, or in rooms with poor air flow. Robertson Windows already covers this in detail in window condensation.
A leak is different:
- Water appears during or right after rain, especially wind-driven rain.
- You may see it at the sill, under the trim, or staining drywall below the window.
- The glass itself may look dry while water tracks along the frame or wall.
- Outdoor caulking, cladding, or gutters often look involved.
If water shows up on a dry day with the heat on, think condensation. If it shows up only when an atmospheric river is hammering the house, think intrusion.
Where water comes from with a window leaking in heavy rain
Homeowners often blame “the window” as a single unit. In practice, water has several common entry paths. Sorting them out matters, because the fix is different for each one.
Glass seal or insulated-glass unit
Water between the panes of a sealed unit usually means the seal has failed. That looks like fogging or mineral haze inside the glass sandwich, not puddles on your sill. It is a product issue more than a wall issue. It is also one of the top signs it may be time for window replacement.
Frame joints and operable sash
On casement, awning, and sliding windows, water can sneak past weatherstripping, worn operators, or corners where the frame was never sealed well. Casement and awning windows that latch tightly and drain correctly rarely wet the sill; ones that do not close square often do.
Sill track and blocked weep holes
Most vinyl windows are designed to take a little water in the sill track and drain it outside through weep holes. When those weeps clog with paint, dirt, or insect nests, the track fills and overflows indoors. This is one of the most common “my window is leaking” calls, and it is often fixable without replacing anything.
Exterior caulking and trim
Caulking where the frame meets cladding cracks and shrinks over years of UV and freeze-thaw. Once that joint opens, wind-driven rain has a direct path behind the trim.
Wall flashing and the rough opening
This is the big one. Even a sound window can leak if head flashing is missing, side flashings are reverse-lapped, or the sill pan was never installed. Water then travels behind the cladding and shows up at the interior sill or the floor below. The window looks guilty; the installation or the wall detailing is often the real culprit. That is why proper window installation matters as much as the unit itself.
Quick checks before and during a storm
You do not need to be a building scientist to gather useful information. A few minutes of looking can save a wasted service call, or help a pro diagnose faster.
Before the storm
- Clear sill tracks with a soft brush or vacuum.
- Check that weep holes at the exterior bottom of the frame are open (a thin plastic zip-tie works; avoid metal that can scratch).
- Look at exterior caulking for gaps, especially at the top corners and along the sill.
- Make sure gutters above the window are clear and downspouts are not dumping onto the wall.
- Confirm operable sashes close and latch fully.
During heavy rain (safely, from inside)
- Note which windows wet first, and which elevation faces the wind.
- Watch whether water starts at the top of the frame, the sides, or only on the sill.
- Check if water appears only when wind drives rain, or also in calm downpours.
- Photograph everything: exterior caulking, weep holes, interior wet spots, and any staining. Timestamps help.
Do not climb ladders in a gale. Exterior photos from ground level in daylight after the storm are fine.
Why installation and flashing often beat “bad windows”
Coastal B.C. is hard on walls. Environment and Climate Change Canada’s Canada’s Changing Climate Report 2026 describes atmospheric rivers as narrow streams of air that move large amounts of water vapour from the ocean onto land, where that moisture often falls as extreme precipitation. That is exactly the pattern that soaks the Lower Mainland each fall and winter (CCCR 2026, Chapter 2).
Under that kind of wetting, a window is only as dry as the opening around it. Flange-mounted vinyl units need a continuous drainage path: sill pan or membrane that slopes out, head flashing that kicks water into the rainscreen cavity, and side details that do not trap moisture against the sheathing. Skip those steps and even a new window can wet the drywall.
That distinction also shapes the repair path. A clogged weep or failed bead of caulk is a small job. A missing sill pan or reverse-lapped housewrap is not. Understanding which one you have keeps you from replacing glass when the wall still needs work.
Retrofit insert vs full-frame replacement when leaks are the issue
When water intrusion is the complaint, the choice between a retrofit (insert) and a full-frame tear-out is not just about budget.
Insert / retrofit keeps the existing frame and slips a new sash or unit inside it. It can work when the existing frame is sound, square, and correctly flashed, and the leak is limited to seals, hardware, or the insulated glass. It leaves the exterior cladding mostly untouched.
Full-frame replacement removes the old unit to the rough opening so new flashing, a sill pan, and proper integration with the weather barrier can be installed. If staining, soft sheathing, or water behind the trim point to a flashing failure, this is usually the honest fix. It is also the approach most often paired with cladding or rainscreen work.
If you are weighing options for a house in Vancouver or nearby, start with replacement windows in Vancouver for the broader decision framework, then get someone on site to look at the wet spots. Photos alone rarely settle a flashing question.
B.C.’s leaky-condo era and rainscreen walls
B.C. learned the hard way what happens when coastal rain meets poorly detailed envelopes. In 1998 the province appointed a commission of inquiry into the quality of condominium construction, commonly called the Barrett Commission, to examine the leaky-condo problem (B.C. government announcement, 1998). The same year, the legislature passed the Homeowner Protection Act, which created the Homeowner Protection Office and a reconstruction loan program for eligible owners of homes with premature building-envelope failure. That loan program ran from 1998 to 2009.
Building practice changed with it. The 2006 B.C. Building Code strengthened cladding rules in Part 9. In coastal climates with a high moisture index (Metro Vancouver qualifies), exterior walls that are exposed to precipitation generally need two planes of protection with a capillary break (a drained, vented space, commonly about 10 mm, often called a rainscreen). The province’s Building and Safety Policy Branch spelled out how those capillary-break rules work in Bulletin B08-02, including the need for drainage under windows at the sub-sill.
None of that means every older house is a “leaky condo,” or that every condo has been fixed. It does mean that on multi-unit buildings, exterior window work is rarely a DIY decision. If you own a strata unit, talk to your strata council (and usually the building’s envelope consultant or property manager) before altering exterior windows or cladding. Interior condensation fixes are one thing; cutting into the rainscreen is another.
Homeowners in places like North Vancouver and Squamish deal with the same Pacific moisture load. Windward elevations and tall rains get the first test every fall.
When to call a pro
Call someone in if:
- Water reaches the floor, electrical outlets, or insulation.
- You see soft drywall, bubbling paint, or musty odours under a window.
- The same sill floods every atmospheric river despite clear weeps and fresh caulk.
- You are in a strata and the wet spot involves shared exterior walls.
- You cannot tell whether the glass, the frame, or the wall is the source.
A good visit includes looking at both sides of the opening, not just the interior glass. Bring your storm photos.
Before the next storm hits
Robertson Windows has been installing windows and doors across the Lower Mainland for 45+ years and installs Vinyltek products. If a window in your home is leaking in heavy rain and you want a clear diagnosis (insert, full-frame, or wall detailing), call 778.725.2345 or request a free estimate. Storm season does not wait for spring.